Introduction
Homebridge has long been the go-to open-source solution for integrating non-HomeKit smart home devices into Apple’s Home ecosystem. With the release of Homebridge 2.0, the platform now includes built-in support for Matter—the universal smart home standard that promises seamless interoperability across ecosystems. This guide walks you through everything you need to set up Homebridge 2.0 with Matter, allowing you to control thousands of additional devices through the Apple Home app.
What You Need
- Homebridge 2.0 installed on a compatible device (Raspberry Pi, macOS, Linux, Windows, or Docker)
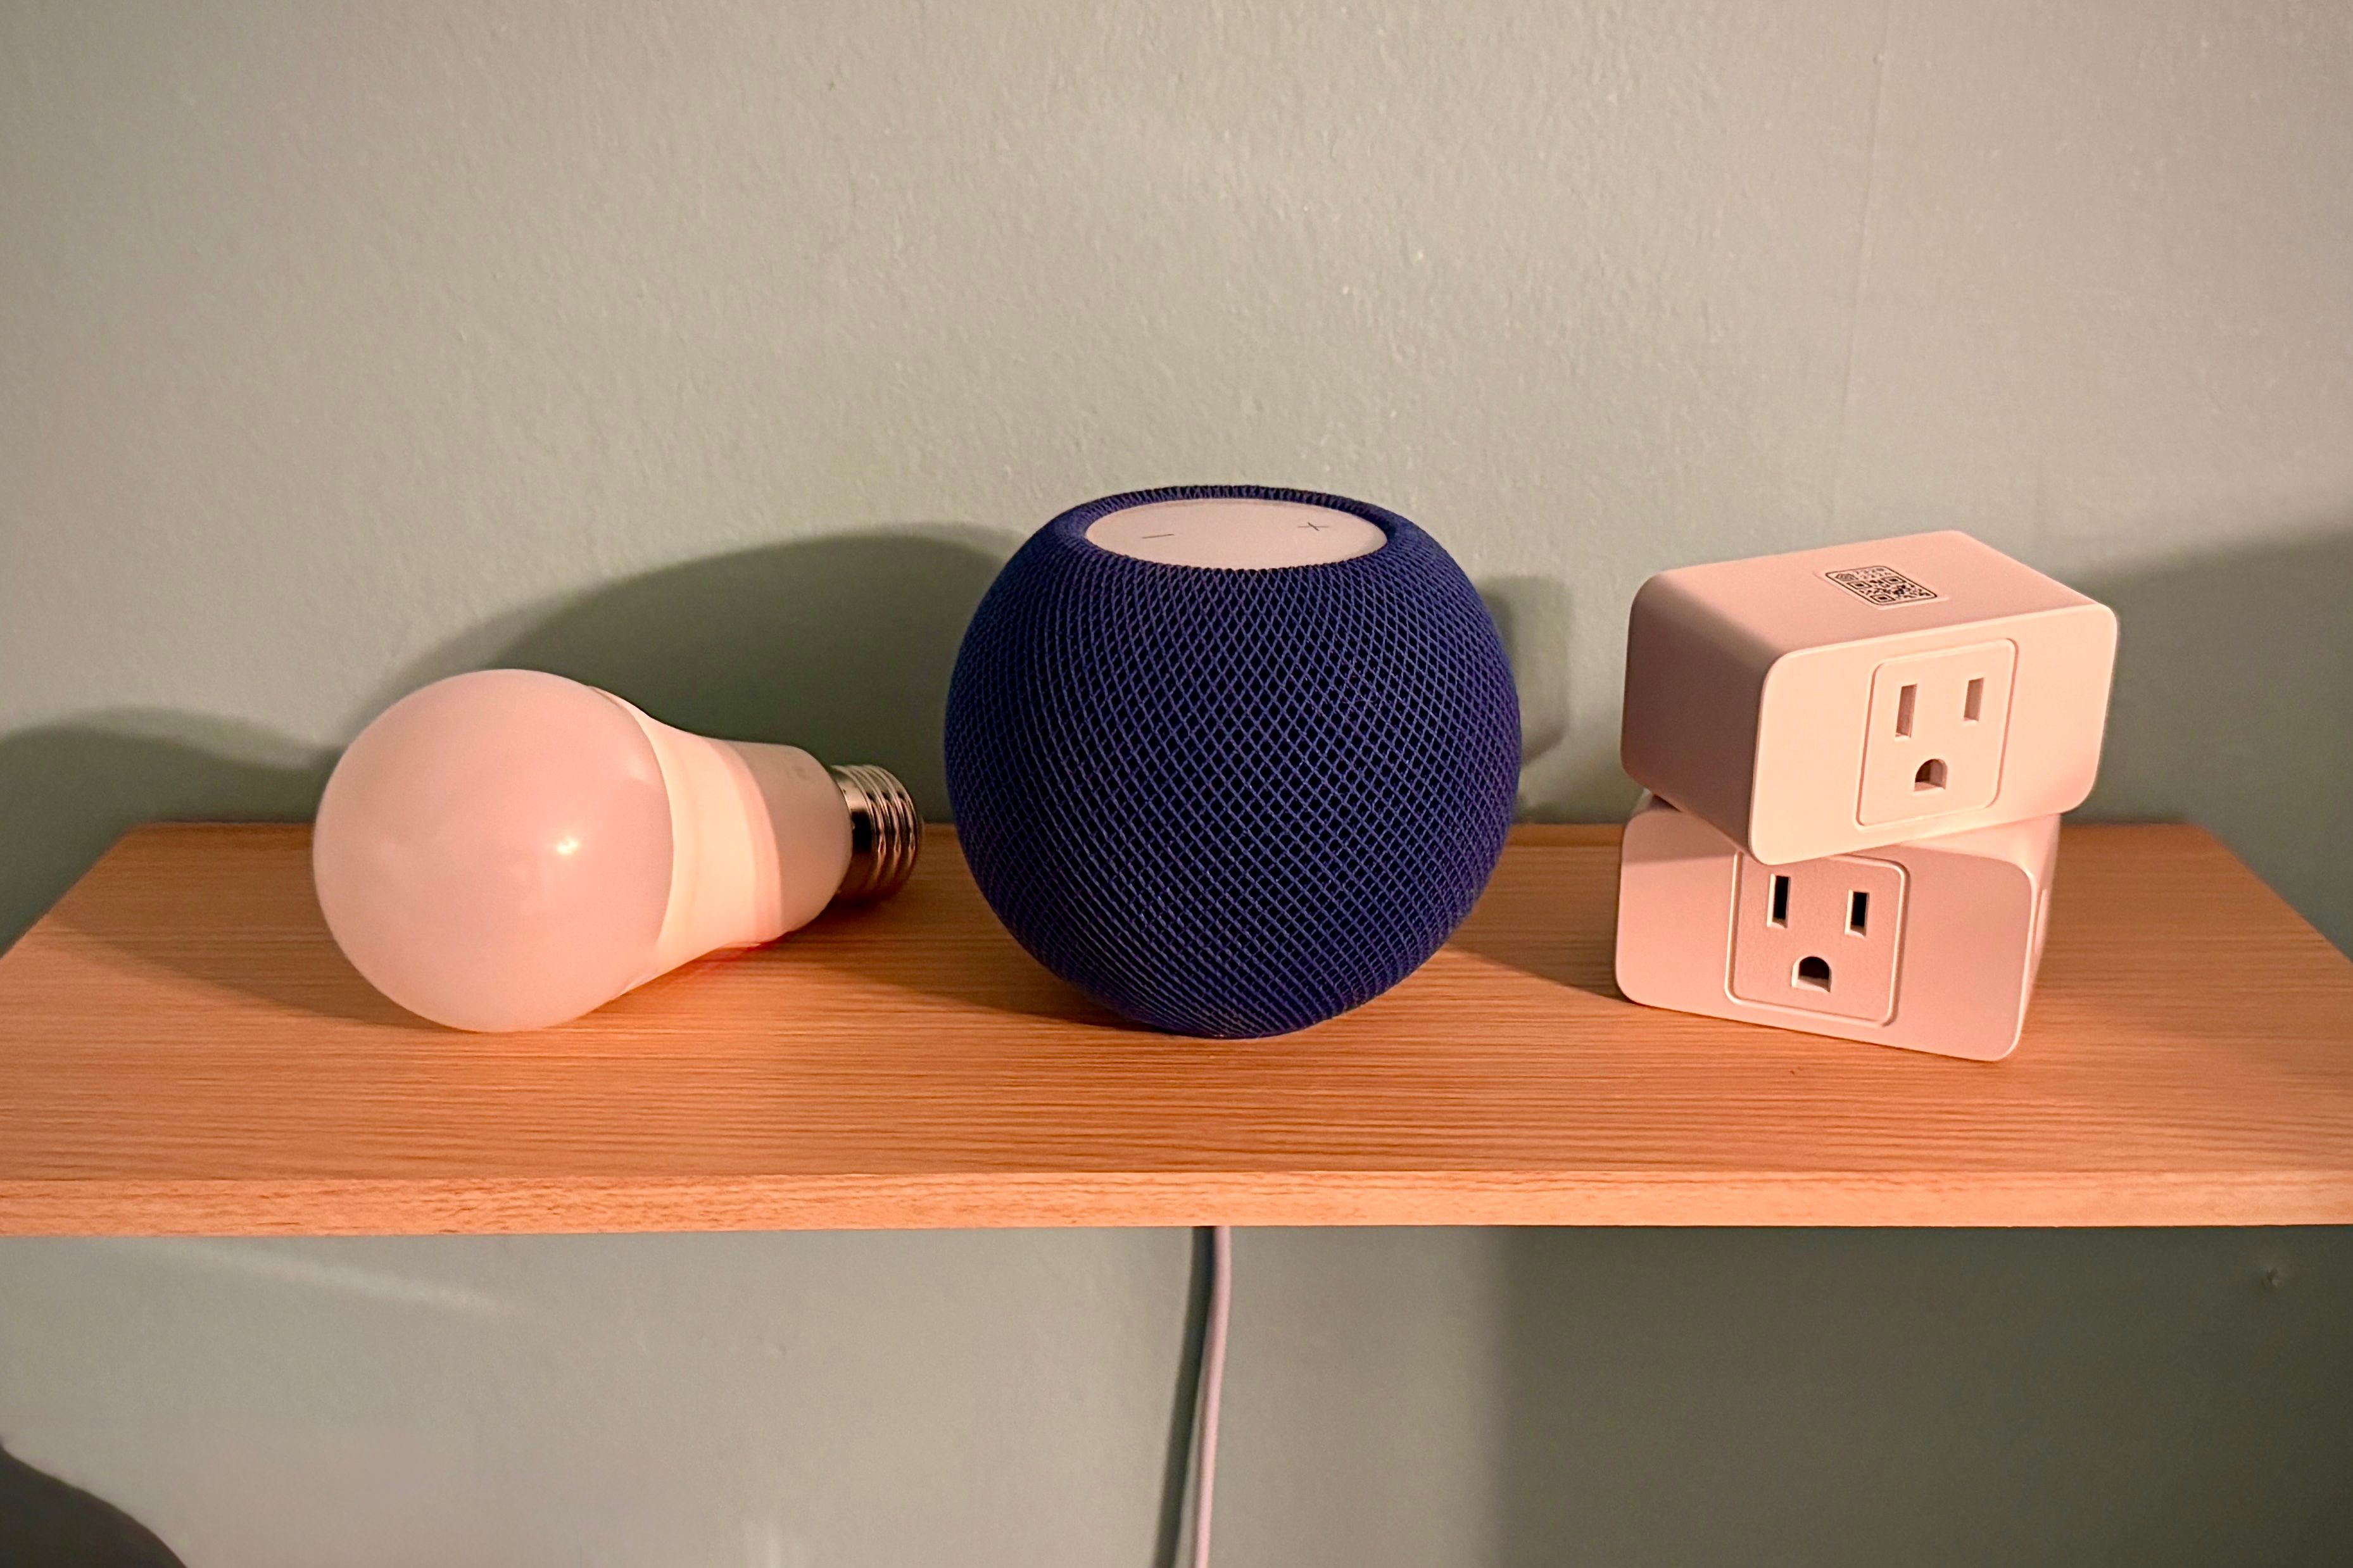
- A Matter controller (Apple TV 4K, HomePod mini, or HomePod 2nd gen running tvOS 16.5+ or HomePod software 16.5+; or an iPad with iPadOS 16.5+ acting as a home hub)
- Matter-compatible smart home devices (e.g., lights, switches, sensors – look for the Matter logo)
- Apple Home app on an iPhone or iPad (iOS 16.5+)
- Stable Wi-Fi or Thread network (some Matter devices use Thread, which requires a Thread border router)
- Basic familiarity with terminal/command line (for installation steps)
Step-by-Step Guide
Step 1: Install or Update to Homebridge 2.0
If you already have Homebridge installed, update it to version 2.0 using your package manager (e.g., sudo npm update -g homebridge). For a fresh installation:
- On a Raspberry Pi running Raspberry Pi OS, use the official Homebridge image or run
sudo apt install homebridge(after adding the Homebridge repository). - On macOS, install via Homebrew:
brew install homebridge. - On Docker, pull the latest image:
docker pull homebridge/homebridge:latest. - After installation, start the Homebridge service and access the web UI at
http://localhost:8581(or your device’s IP).
Step 2: Enable the Matter Plugin
Homebridge 2.0 ships with a built-in Matter plugin. In the Homebridge web interface:
- Navigate to Plugins > Search and find Homebridge Matter (or it may appear as pre-installed).
- Click Install. Once installed, go to Settings and locate the Matter plugin configuration.
- Enable Matter bridge mode if you want to expose multiple devices as a single Matter accessory (recommended for simplicity). Otherwise, each device can be exposed individually.
- Set a Commissioning PIN (a numeric code used during pairing with Apple Home). A default is provided, but you can change it.
- Click Save and restart Homebridge from the Status menu.
Step 3: Pair Your Matter‑Compatible Devices with Homebridge
Ensure your Matter devices are powered on and in pairing mode (often indicated by a blinking LED). For most devices, this means pressing a reset button or following the manufacturer’s instructions.
- In the Homebridge web UI, go to Homebridge Matter plugin settings.
- Click Add Device. You may be prompted to scan a QR code or enter a manual pairing code (found on the device or its packaging).
- Homebridge will discover the device over Wi‑Fi or Thread. Wait until it appears as Paired.
- Repeat for each Matter device you want to bridge. The devices will now be managed by Homebridge but not yet visible in Apple Home.
Step 4: Add Homebridge to the Apple Home App
Now you need to bring the bridged devices into Apple Home:

- Open the Apple Home app on your iPhone or iPad.
- Tap the + icon and choose Add Accessory.
- Scan the Homebridge Matter code displayed in the plugin settings (or manually enter the PIN under “More Options”).
- Follow the on‑screen instructions. The Home app will discover Homebridge as a Matter bridge.
- Assign the bridge to a room and give it a name (e.g., “Homebridge Bridge”).
- After a few moments, all the Matter devices you paired in Step 3 will appear as individual accessories in the Home app. You can now control them with Siri, automations, and the Home interface.
Step 5: Verify and Configure
- Test each device: turn lights on/off, change brightness, or check sensor readings.
- Create scenes and automations in the Home app that include the newly added devices.
- If a device isn’t responding, ensure it’s within range of your Thread border router or Wi‑Fi network, and check that Homebridge 2.0 is running.
- Update firmware on both Homebridge and your Matter devices regularly for best stability.
Tips for Success
- Network Stability Matters: Both Homebridge and Matter devices rely heavily on your local network. Use a dedicated 2.4 GHz Wi‑Fi for IoT devices if possible; enable multicast support (IGMP snooping) on your router.
- Thread Networking: For Thread‑based Matter devices, ensure you have at least one Thread border router (like a HomePod mini) and that it’s updated to the latest software. Thread networks are self‑healing but can become unstable if nodes go offline.
- Keep Homebridge Updated: The Matter plugin is still evolving. Check for updates weekly to benefit from bug fixes and new feature improvements.
- Backup Your Configuration: In the Homebridge UI, regularly export your configuration JSON. This makes recovery easy if you need to reinstall.
- Use the Correct PIN: When pairing with Apple Home, the PIN you enter must exactly match the one displayed in the plugin settings. Write it down or copy it carefully.
- Multiple Hubs: If you have more than one Apple home hub, ensure all are updated to the same OS version to avoid pairing conflicts.
With Homebridge 2.0 and Matter support, you can now bring even the most obscure smart home gadgets into the polished world of Apple Home. The setup is straightforward, and once complete, you’ll enjoy unified control without needing separate apps for each brand.